🧩 Writing your first Blockly program
This short guide walks you through creating a simple, working Blockly program for your RoBeeX device. You'll learn how to open the editor, assemble blocks, run the program, and troubleshoot common issues.
What you'll build: a repeating LED sequence that changes color and pauses — a friendly, visible way to confirm the device is responding to your program.
Prerequisites
- Installing RoBeeX App on your computer / mobile phone
- A RoBeeX device powered on and connected to your computer / mobile phone
If you don't yet have a device connection, you can still follow the steps in the editor and run them later when a device is available.
TIP
You can run blockly programs without being connect to the device, in cases where your not using device related blocks (Flight, LEDs and etc)
💻 Entering the Programming Area !
The Blockly Editor is placed in the Programming section
RoBeeX App → Programming → Blockly page

Blockly program manager
Here you can manage your blockly programs, make new programs or select your previous programs to modify them
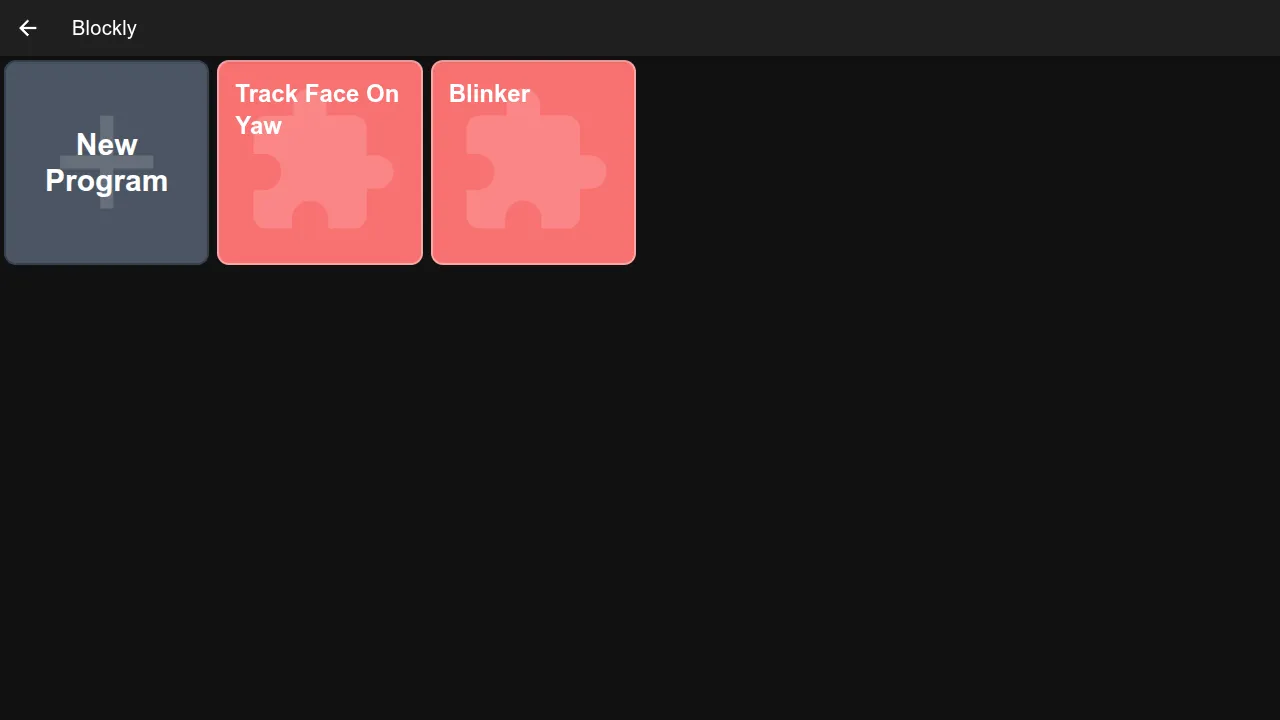
Run a demo program (blinker)
Open the blinker program
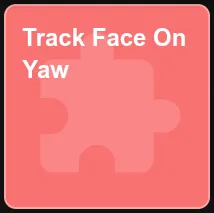
Blinker program
Make a new program
- You can use the
New ProgramButton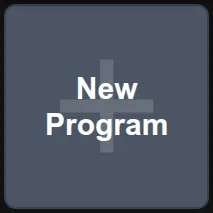
🧭 The Blockly Editor Interface
Before writing your first program, it helps to understand the main areas of the editor.
The editor is divided into a few key areas:
1. Blocks Toolbox (Categories)
The left-hand side contains the Toolbox, which organizes all available programming blocks into logical categories, such as:
- Logic: Conditions and comparisons.
- Loops: Repeating actions.
- Math: Numbers and operations.
- Variables: Storing data.
- Flight: Takeoff, landing, and movement commands.
- LEDs: Controlling the device's lights.
2. Workspace (The Canvas)
This large central area is your Workspace. This is where you drag blocks from the Toolbox and connect them to build your program logic.
3. Program Entry Points
All programs must start from a special block that defines when the code should execute. You will always begin by dragging one of these Entry Point blocks onto the Workspace:
when Program starts: The code runs immediately upon hitting the Run button.when [Condition] is met: The code runs when a specific event occurs (e.g., a button is pressed or an obstacle is detected).
4. Device Telemetry / Status
Located typically at the top or bottom of the screen, this panel provides real-time status of your RoBeeX device. Check here to confirm the following:
- Connection Status: Shows if the editor is connected to the physical device (Connected / Disconnected).
- Battery Level: The current charge remaining.
- Mode: Whether the drone is currently in flight or on the ground.
5. Run Button 🟢
The prominent Run (or Play) button is what you press to compile your blocks and send the program to your connected RoBeeX device for execution.
⚙️ Managing Blocks
Adding New Blocks
To add a block, simply click and drag it from the Toolbox on the left into the Workspace area. Blocks will snap together when they are compatible, like puzzle pieces.
Deleting Blocks (Recycle Bin)
You have two ways to remove a block or a connected stack of blocks:
- Dragging to the Recycle Bin: Drag the unwanted block(s) to the Recycle Bin icon usually found in the bottom-right corner of the editor.
- Dragging back to the Toolbox Area: Simply drag the block(s) and release them over the Toolbox/Categories section on the left.
📂 Using and Modifying Demo Programs
The RoBeeX App comes with several built-in Demo Programs to help you quickly understand common functionalities and provide a starting point for your own projects.
Accessing Demo Programs
- In the main editor screen, look for a Load or Examples menu option.
- Select a program (e.g.,
RGB BlinkerorSimple Takeoff). - The blocks for that program will populate your Workspace.
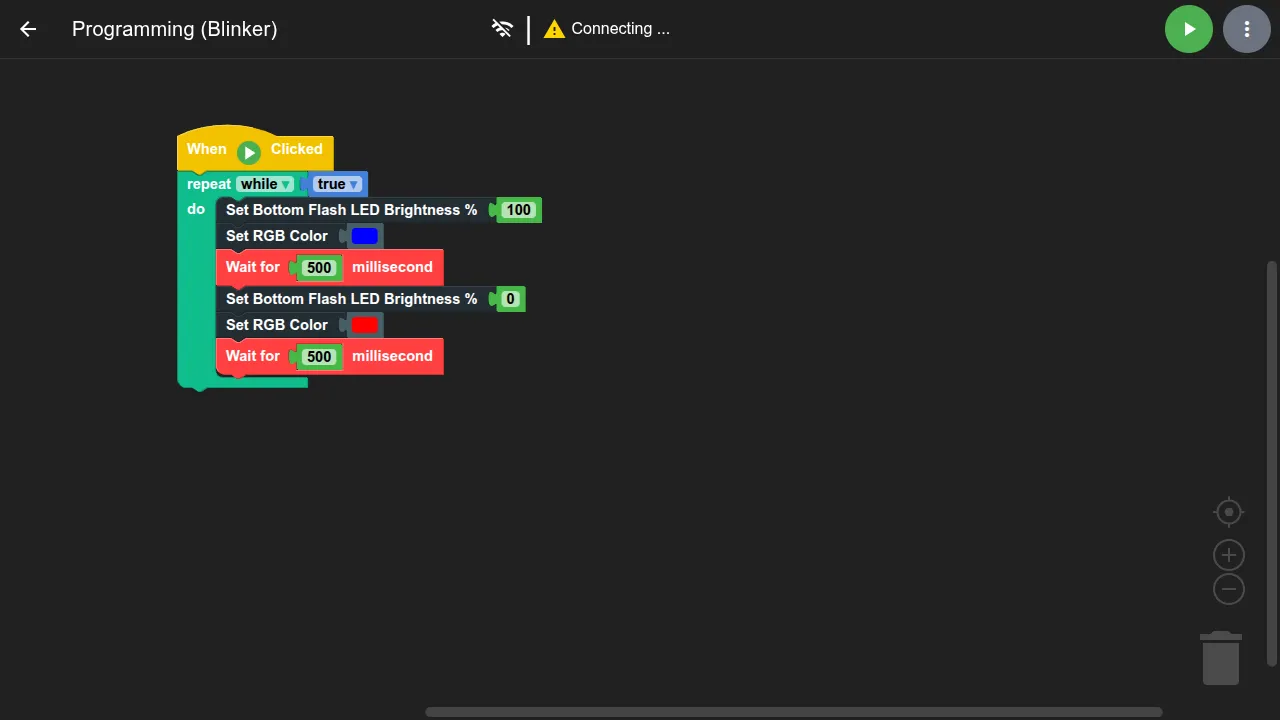
🚀 Running Your First Demo: RGB Blinker
The RGB Blinker is the perfect program to confirm your connection and basic programming flow.
Load the Demo: Open the
RGB Blinkerdemo program.Inspect the Blocks: The program will typically use a
when Program startsentry point connected to arepeat foreverloop, which containsset LED colorandwaitblocks.Confirm Status: Verify the Device Status shows Connected.
Run the Program: Click the Run Button (🟢).
Observe: Your RoBeeX device's main LED should immediately begin blinking and changing colors as defined by the program blocks.
Stop: Click the Stop Button (🟥) in the editor to halt program execution on the device.
✍️ Creating Your Own Program (Cloning and Modification)
The fastest way to write your own code is often to modify a working demo. Let's clone and modify the RGB Blinker to add a new feature: controlling the Bottom Flashlight.
Step 1: Clone the Blinker Program
- With the
RGB Blinkerprogram loaded, click the Save As button and give it a new name, such asBlinker with Flashlight.
Step 2: Add the Flashlight Blocks
- Navigate to the LEDs category in the Toolbox.
- Locate the block:
set bottom light [ON/OFF]. - Drag and connect this block inside the
repeat foreverloop, immediately after the firstset LED colorblock.- Set the block to
ON.
- Set the block to
- Now, drag a second
set bottom light [ON/OFF]block and place it inside the loop, immediately after the secondset LED colorblock.- Set this second block to
OFF.
- Set this second block to
Step 3: Run and Test
- Click the Run Button (🟢).
- Observe: Not only will the RGB light blink, but the dedicated bottom flashlight will now turn ON and OFF in sync with the color changes!
Congratulations! You've successfully modified a demo program to create a new, functional behavior for your RoBeeX device.